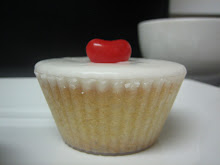
Christmas is almost here and once again I seemed to have made it and ready to celebrate! As you know last year I made several cookies and decorated boxes and also made chocolate caramels and coconut macaroons.
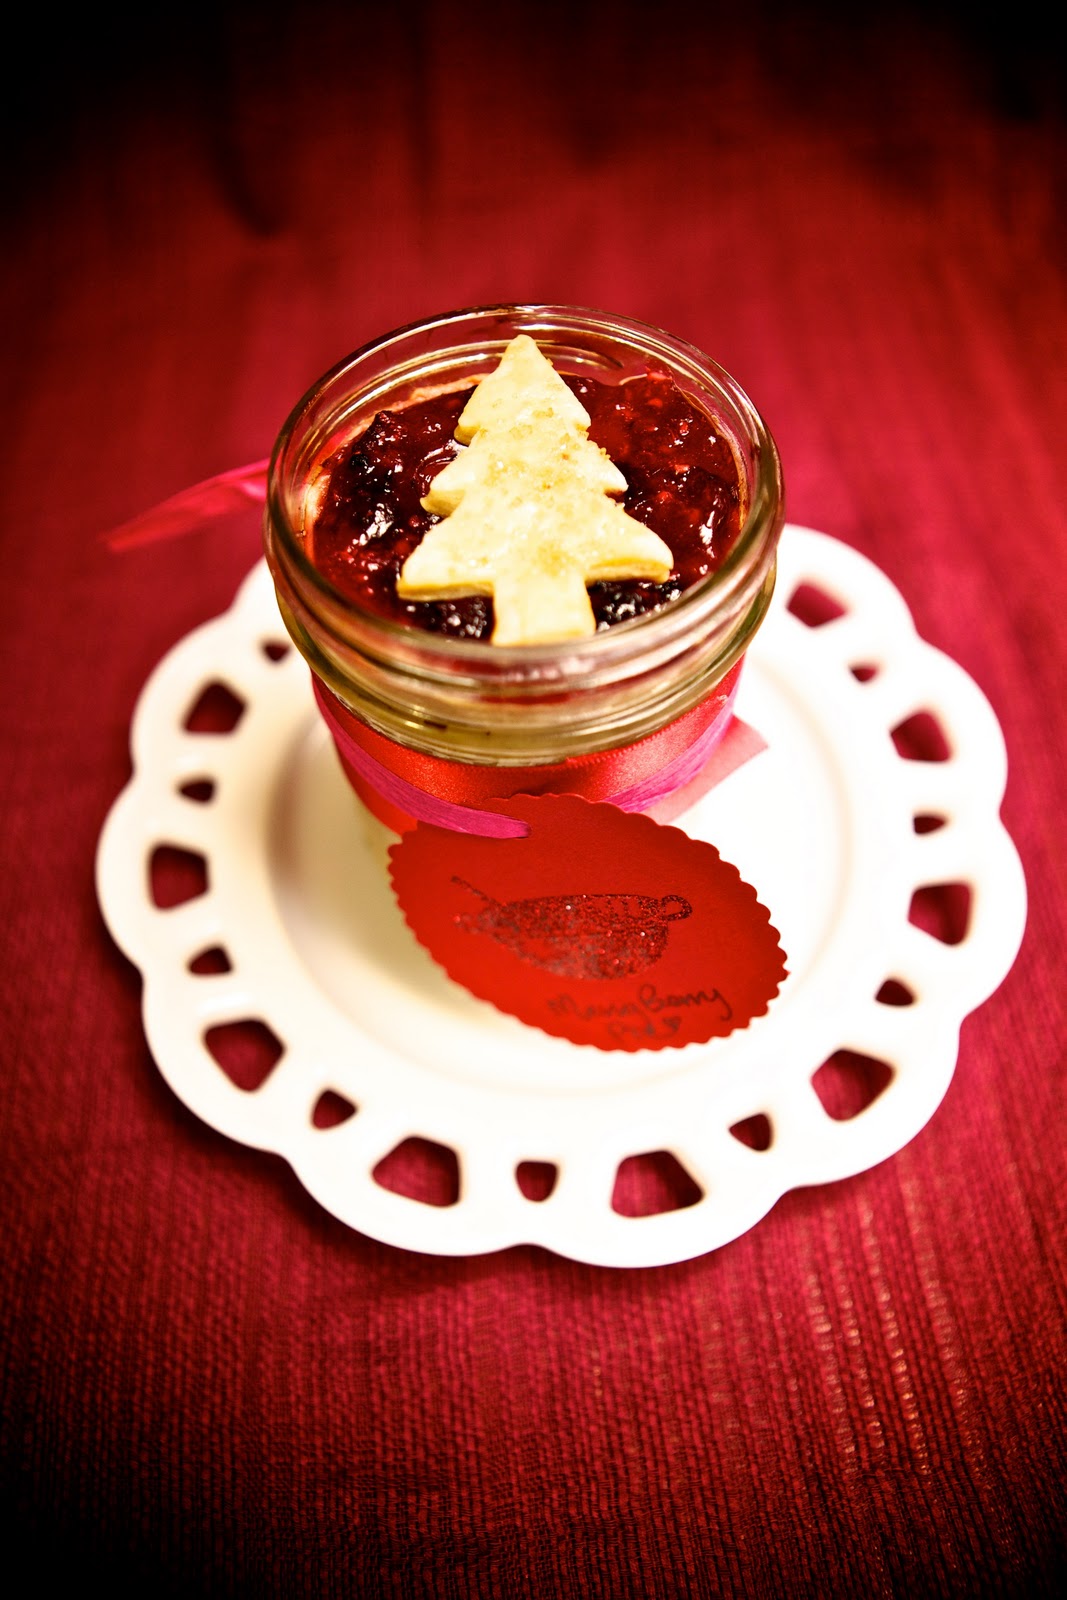
This year I wanted to stand out. I made Merry Berry Pie in a Jar. I saw this blog post for great homemade wedding guest gifts. Check it out here. The important thing to remember is that you can make these with store bought pie dough and canned pie filling. It's up to you what you make of it. Here is my version:
 |
| Alex Wenton Photography |
Foolproof Pie Dough
From America's Test Kitchen
Makes 1 9-inch pie
Will make 4-6 4 oz mason jar pies. Double the recipe if making 4-5 16 oz mason jar pies.
Ingredients
- 2 1/2 cups unbleached all-purpose flour (12 1/2 ounces)
- 1 teaspoon table salt
- 2 tablespoons sugar
- 12 tablespoons cold unsalted butter (1 1/2 sticks), cut into 1/4-inch slices
- 1/2 cup chilled solid vegetable shortening , cut into 4 pieces
- 1/4 cup vodka , cold
- 1/4 cup cold water
Instructions
- 1. Process 1 1/2 cups flour, salt, and sugar in food processor until combined, about 2 one-second pulses. Add butter and shortening and process until homogeneous dough just starts to collect in uneven clumps, about 15 seconds (dough will resemble cottage cheese curds and there should be no uncoated flour). Scrape bowl with rubber spatula and redistribute dough evenly around processor blade. Add remaining cup flour and pulse until mixture is evenly distributed around bowl and mass of dough has been broken up, 4 to 6 quick pulses. Empty mixture into medium bowl.
- 2. Sprinkle vodka and water over mixture. With rubber spatula, use folding motion to mix, pressing down on dough until dough is slightly tacky and sticks together. (Note: the dough for me was very wet but still turned out great.) Divide dough into two even balls and flatten each into 4-inch disk. Wrap each in plastic wrap and refrigerate at least 45 minutes or up to 2 days.
 |
| Alex Wenton Photography |
Cherry Pie filling:
Recipe by Sandra Lee
Will make 4-6 4 oz mason jar pies. Double the recipe if making 4-5 16 oz mason jar pies.
Ingredients
- 1 can cherry pie filling
- 12 ounces frozen mixed berries, drained
- 1 tablespoon Kirsch (or amaretto liquor)
- 1 tablespoon sugar
- (I added dried cranberries, candied ginger pieces and cinnamon to taste)
Instructions
Preheat oven to 325 degrees F. In a large bowl, combine cherry pie filling, mixed berries and Kirsch or desired liquor. Set aside.
Further directions from GreenWedding.com:
- Press the unrolled dough bit by bit into the jars a bit at a time (not too thick!) until the jars are lined with the dough up to the rims. Reserve some dough for toppers. Next, fill jars nearly to the top with filling of choice.
 |
| Alex Wenton Photography |
- Roll out reserved dough to roughly 1/8 inch thick and cut out 6-8 of your shape of choice. Place the filled jars on a sturdy cookie sheet and place into oven.
- Bake at 325 degrees for roughly 30-35 minutes (for the smaller jars) and 50-55 minutes (for larger jars) or until dough becomes a light golden color.
- At that time, arrange the dough shapes on the pies, brush the hearts with the egg wash and sprinkle with sugar. Bake an additional 10-15 minutes until dough is golden brown all the way around the jars. If needed, place foil over the tops of the jars to keep the hearts from burning.
- Remove and let jars cool on a rack. Decorate with ribbon, tags, or labels on lids as desired! Have fun with it!
 |
| Alex Wenton Photography |
Happy Christmas and bake on!
~Sarah